Solar Ground Mount Installation: Step-by-Step Guide for Utility Projects
From site survey to energization: the complete installation sequence for ground mount solar arrays, with crew sizes, equipment, timelines and quality checks.
TL;DR — Key Takeaways
- Category:
- Installation
- Reading time:
- 9 min read
- Published:
- September 29, 2026
- Topics:
- solar installation · ground mount install · PV project construction · solar farm construction
- In short:
- From site survey to energization: the complete installation sequence for ground mount solar arrays, with crew sizes, equipment, timelines and quality checks.
A utility-scale ground mount is built in a repeatable sequence. This guide walks through each stage with realistic crew sizes and durations, so you can plan schedules, avoid rework, and know what quality checks to demand at handover.
Stage 1: Site survey and layout (1–2 weeks)
Surveyors establish the project grid, identify soil types, and mark pile locations from the approved layout. Geotechnical tests (usually 1 test hole per 5–10 hectares) determine pile depth and driveability. This stage is cheap and prevents the two most expensive field errors: piles driven to the wrong depth and rows misaligned.
Stage 2: Pile driving (the critical path)
A tracked pile driver with a hydraulic hammer installs 100–300 piles per day with a 6–10 person crew. Quality checks: verticality (±2° typical), embedment depth per drawing, and pull-out testing on a sample (usually 1 per 200 piles). In rocky or high-water soils, helical piles or precast concrete replace driven piles.
Stage 3: Steel structure erection
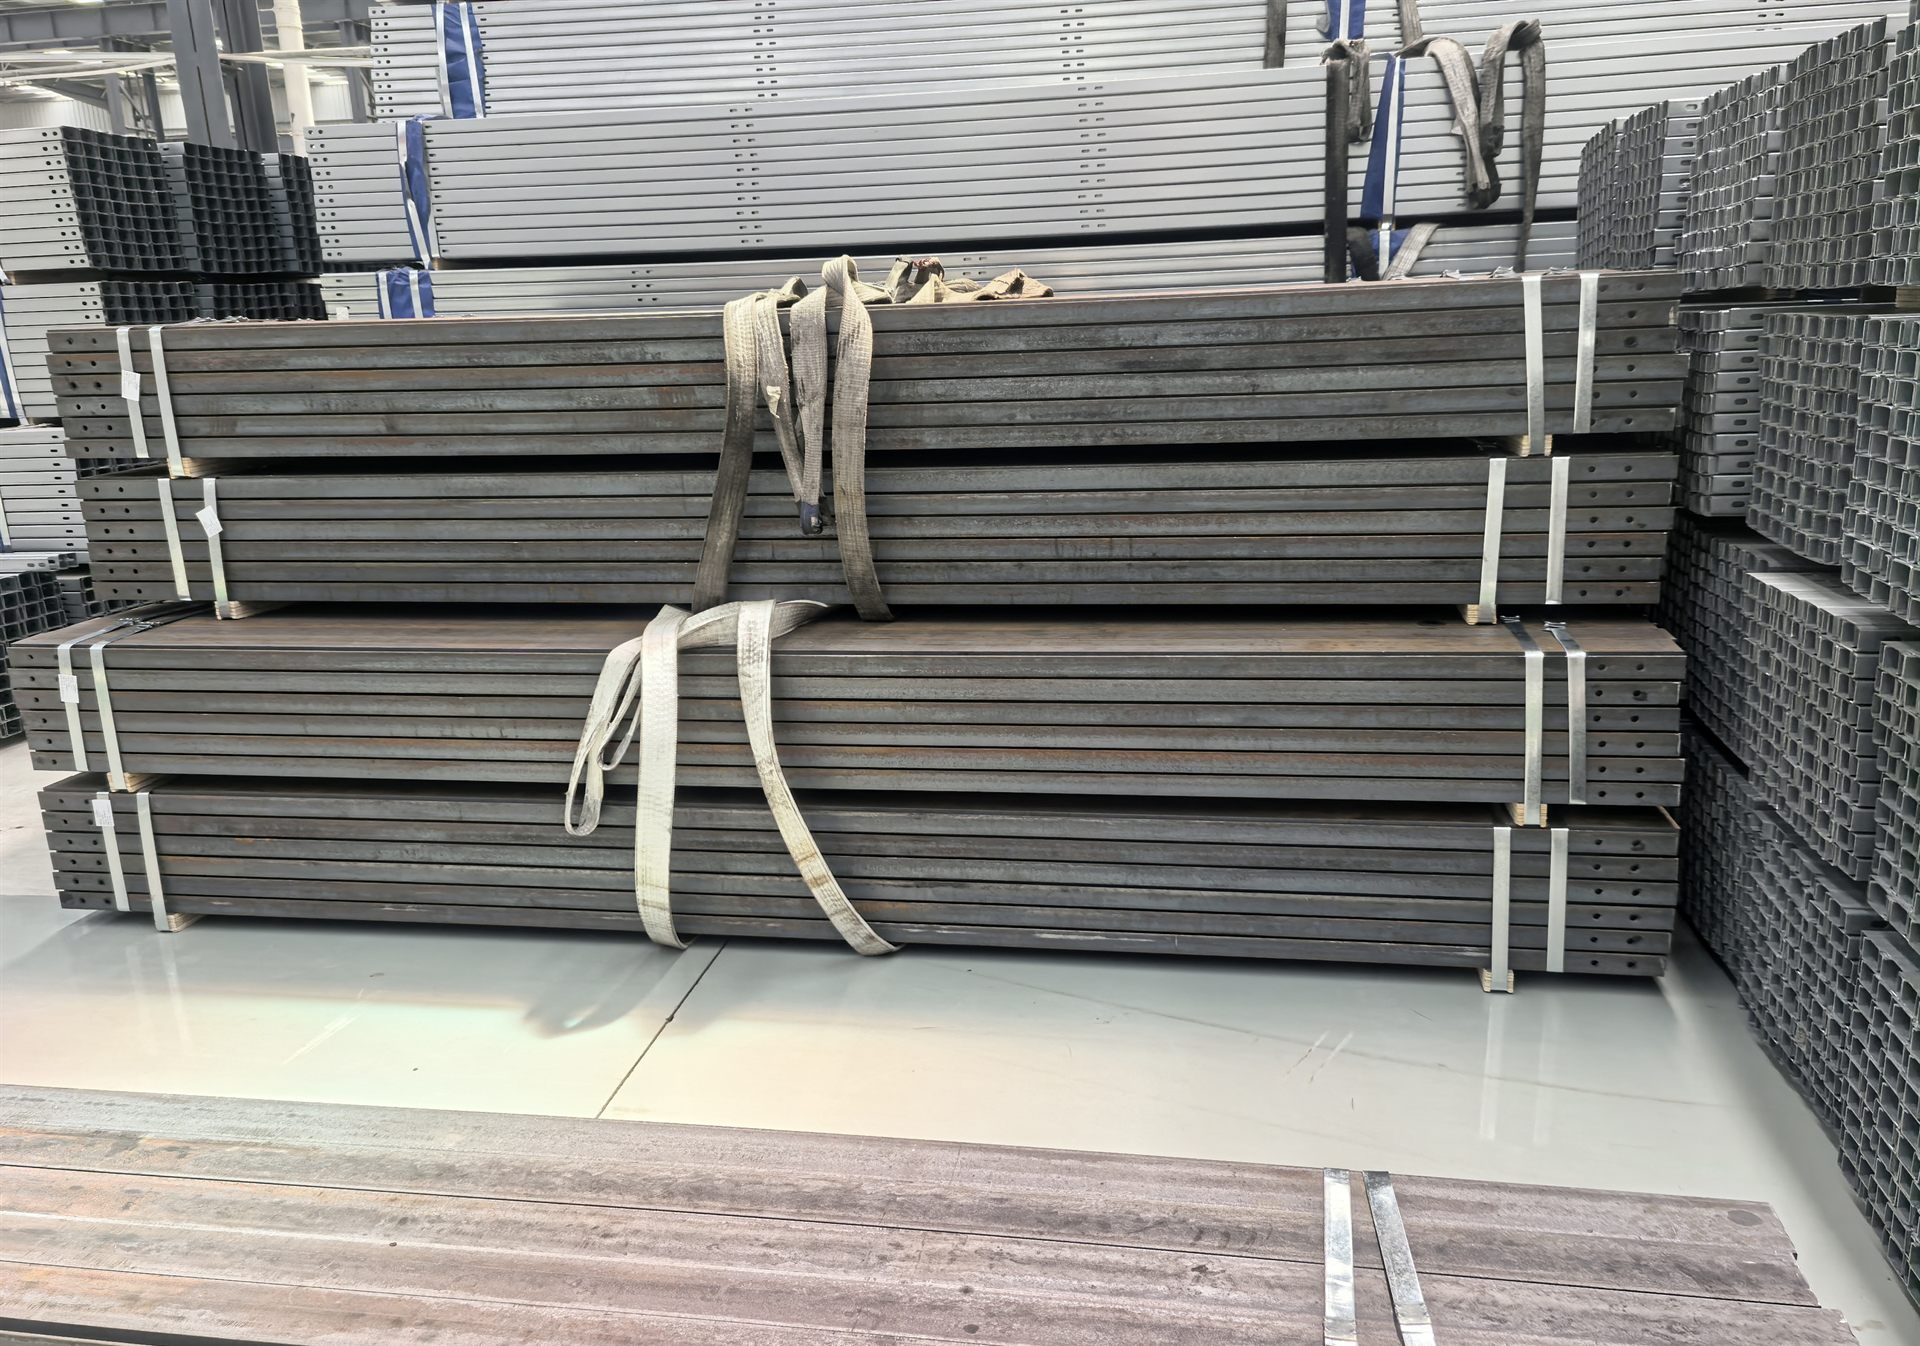
Bolted HDG frames go up in this order: pile caps or columns → main beams → purlins → bracing. Crews of 10–15 erect 0.5–1.5 MW per week depending on terrain. Torque all structural bolts to spec — galvanized bolts need re-torquing after 2–3 weeks because the zinc coating beds in.
Stage 4: Module installation
Modules are staged along rows and installed with mid/end clamps at the torque specified by the manufacturer. Modern crews use vacuum lifters (4–6 modules per lift) to cut time and breakage. Typical output: 1–2 MW per week with a 12–20 person crew. Checks: clamp torque, module-to-module gap, no cell micro-cracks from over-torquing.
Stage 5: DC cabling and stringing
String cables run along the rails in cable trays or clip systems, terminated at combiner boxes. Voltage checks per string before connection prevent the single most common commissioning failure: reversed polarity.
Stage 6: Commissioning and handover
Commissioning includes: insulation resistance testing, string I-V curve verification, thermal imaging of all connections, and functional testing of the monitoring system. Handover documents should include as-built drawings, torque logs, pile pull-out reports, and material certificates.
Timeline benchmark (10 MW fixed-tilt example)
| Phase | Duration | Crew |
|---|---|---|
| Survey & geotech | 2 weeks | Survey crew |
| Pile driving | 3–4 weeks | 2 drivers + 12 workers |
| Steel erection | 4–5 weeks | 15 workers |
| Module installation | 4–6 weeks | 20 workers |
| DC wiring | 3 weeks (parallel) | 8 electricians |
| Commissioning | 1–2 weeks | Commissioning team |
Top quality failures to watch
- ▸Under-torqued or over-torqued module clamps (cracked cells are invisible until thermal imaging)
- ▸Piles not plumb, causing row misalignment and connector stress
- ▸Bolts never re-torqued after zinc bedding
- ▸Cable trays overloaded, causing conductor heating
- ▸Missing grounding continuity between frames
Plan your build with a supplier that knows construction
HAOQIN supplies structures designed for fast assembly — pre-drilled members, color-coded connection kits, and installation drawings that crews can follow without site engineers. Ask for a sample installation drawing pack with your quotation.
Need a structure engineered for your site?
Send us your project details for load calculations, configuration and pricing.